from socket import *Below is the code that sends a command and receives the reply. UDP packets are not guaranteed to arrive at their destination and if they do they are not guaranteed to arrive in the same order they were sent in, although on a small single segment LAN they generally do. Packets are protected by CRCs and checksums so if you do receive a packet you can be pretty sure it is not corrupt.
from struct import *
class Hydra:
def __init__(self, ip_addr):
# Create sockets
self.sendSock = socket(AF_INET,SOCK_DGRAM)
self.sendAddr = (ip_addr,21000)
self.recvSock = socket(AF_INET,SOCK_DGRAM)
self.recvSock.bind(("",21001))
self.recvSock.settimeout(0.1)
def __del__(self):
# Close sockets
self.recvSock.close()
self.sendSock.close()
To make a reliable protocol timeouts, retries and packet sequence numbers are required. I also added a 4 byte magic number at the start of each packet just to make sure a stray packet from a rogue application or the Web could not cause HydraRaptor to lose the plot.
def do_cmd(self,cmd):Here is the code to wait for the machine to be ready and then instruct it to go to to a 3D position.
tries = 3
while tries:
self.sendSock.sendto('\x12\x34\x56\x78' + cmd,self.sendAddr)
try:
data,addr = self.recvSock.recvfrom(1024)
return data
except timeout:
print "read failed"
tries = tries - 1
raise 'comms failed'
def get_status(self):Notice how easy it is to marshal and unmarshal packets using the struct module. The big endian to little endian conversion is handled simply by putting a > sign at the start of the format string.
return unpack('>hhhhBB', self.do_cmd('\x00\x00'))
def goto_xyz(self,pos,delay):
while 1:
a, b, c, steps, seq, ready = self.get_status()
if steps == 0 and ready:
break
seq = (seq + 1) & 255
self.do_cmd(pack('>BBhhhh', self.goto_xyz_cmd, seq, pos[0], pos[1], pos[2], delay))
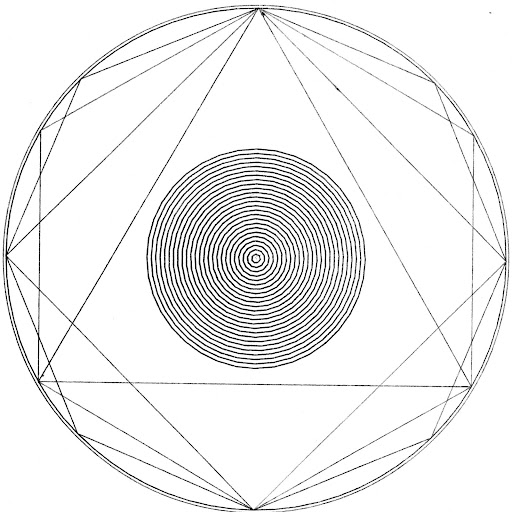
Below are some test patterns. The 25 circles in the centre are 1 - 25mm radius and are drawn with the minimum number of line segments to keep within 0.05mm accuracy. This is calculated with the formula
π / acos((r - 0.05) / (r + 0.05))The outer circle is made with 360 line segments.
Not only can I now drive HydraRaptor from a script but I can also interact directly with it via the command line:
>>> hydra = Hydra("10.0.0.42")
>>> print hydra
At (9944,11943,400) steps = 0
>>> hydra.goto_xyz((0,0,0),1000)
>>> print hydra
At (3310,3976,133) steps = 3976
>>> print hydra
At (0,0,0) steps = 0
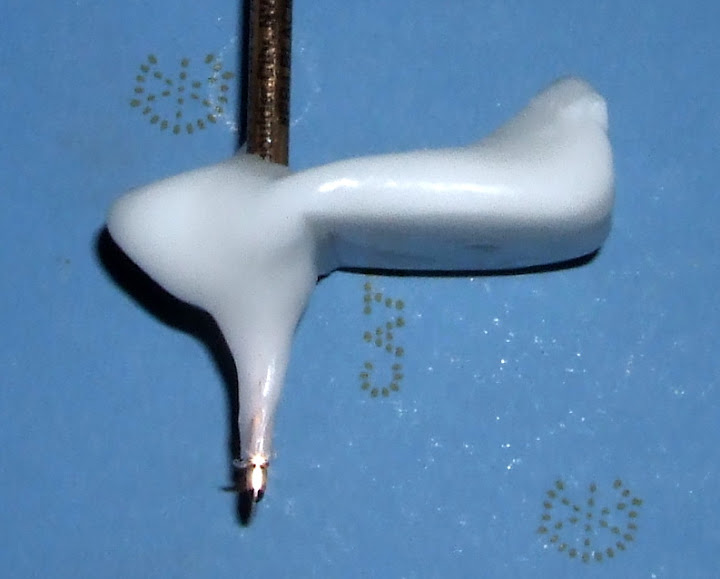
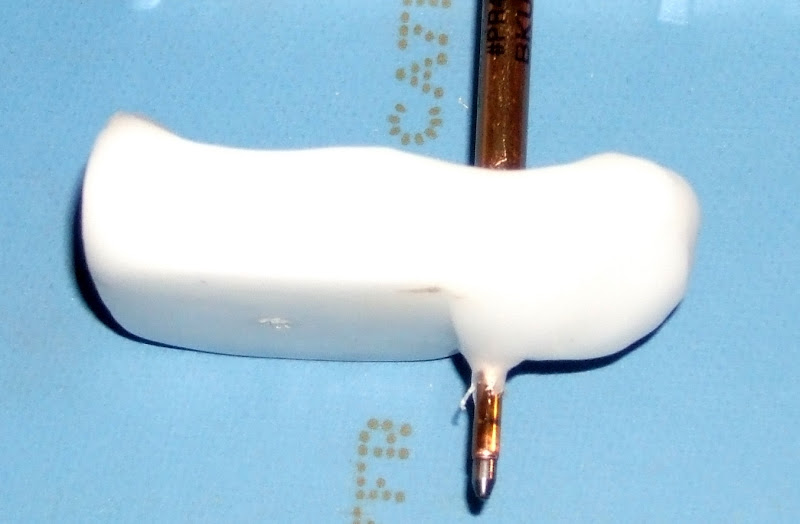
>>>I noticed that although the Z axis is repeatable in the short term the distance to the paper varied by about 0.1mm over a two day period. I expect this is due to the MDF expanding and contracting slightly. I plan to make a tool height sensor mounted on the XY table to make it easy to switch tools. This should also compensate for the wood changes.The next thing to do is use my existing milling setup to make some motor mounts to make an improved milling machine. To do this I will extend my Python script to allow me to define an outline as a list of lines and arcs and then mill around it.
I will then try to make the RepRap FDM extruder with the improved milling machine.